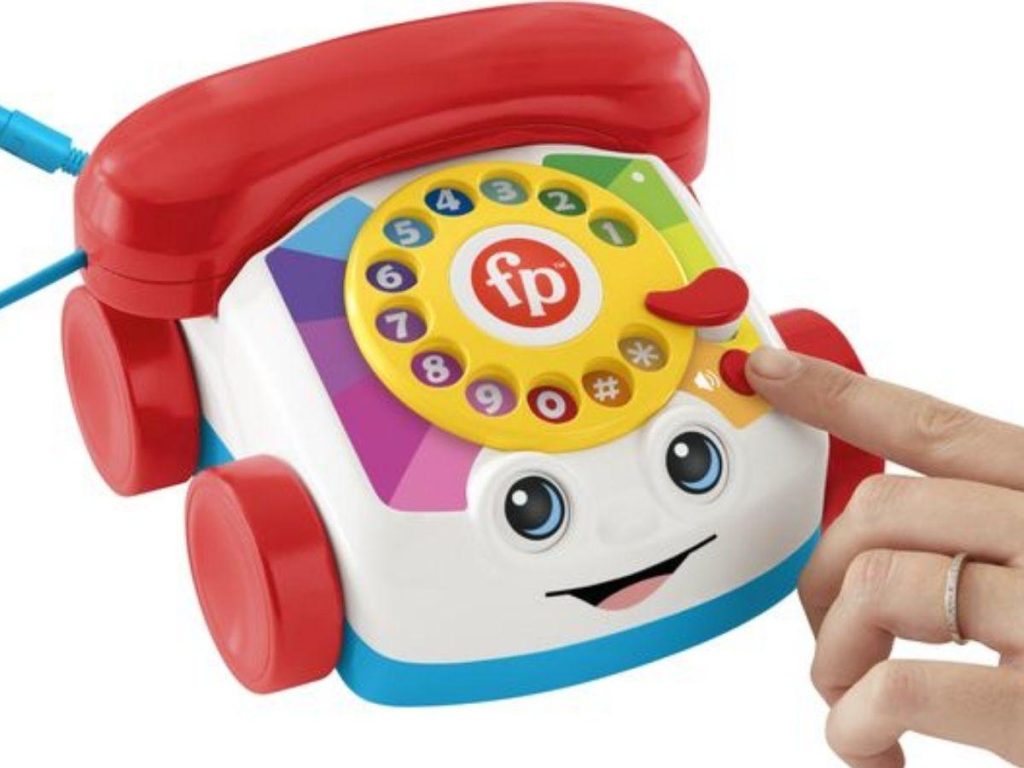
This toy telephone uses a couple of radio speakers and connecting wires. An update to the string-and-can telephone, this project can be amusing, and educational, too.
I remember my kiddy days when my friends and I used to play with toy telephones made up of a couple of small match box containers with strings tied in between them as a link. When tightly stretched one could speak, or rather whisper, close over one of the containers and the voice vibrations would get carried through the string up to the person at the receiving end where it could be heard slightly amplified over the respective container… primitive, though, but interesting.
Children always love making and playing with stuff that is easy and quickly done. Simple projects like the above will always retain their attraction especially with the kids, no matter how much the technology advances.
Another similar type of toy telephone (though comparatively a little advanced) is discussed in this article. Unlike the above concept which uses mechanical vibrations to transfer sound waves, the present design utilizes electrical signals for the purpose (without using external electricity). It’s ideally a kid’s project and they will surely love making and playing with it.
Although the present design is just a toy, that doesn’t stop it from being technical and involving quite a bit of understanding.
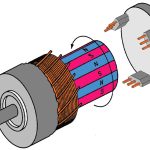
The idea is based on the fact that electrical vibrations are converted into sound vibrations over loud-speakers. We all know that, however, the results can also be inverted through these devices, i.e. anything spoken very close to the diaphragm of a speaker may well get transformed into minute electrical pulses. These converted electrical pulses, though quite weak, if fed into a speaker back again will get transformed to sound vibrations over its diaphragm.
Let’s see how we can build this toy telephone and also understand its functioning.
Necessary Parts
To build this project you will need the following ordinary parts which can be even retrieved from your old discarded electrical audio video gadgets.
Four small speakers rated at 8 Ohms and ½ watts each,
A bundle of 14/36 PVC wire, its length will depend on the distance of communication,
Two short lengths of PVC pipes having diameter equal to the speakers, cut at lengths of 4 inches each,
ince the assembly of the above components will need soldering therefore a solder iron will also be required.
Construction and Testing Clues
The assembly procedure involves just the following few formalities:
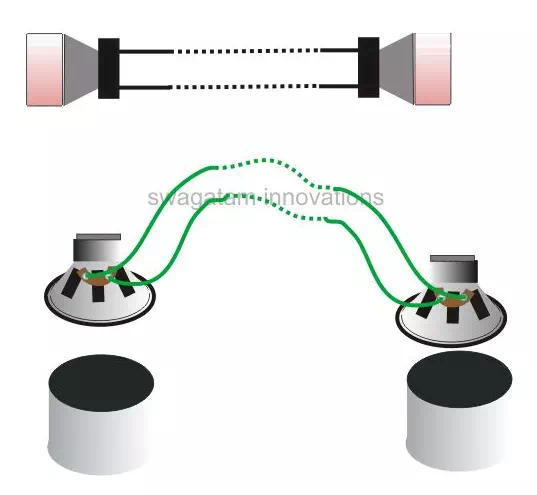
· Take the procured pieces of PVC pipes and join them to the speaker diaphragm metallic rim, so that both the units fit snugly face to face. Use super-glue to seal of any gaps.
· Cut a pair of wires of the required length and strip their ends to a few millimeter lengths.
· Solder the ends to the speakers as shown in the diagram.
· The above steps conclude the assembly part, which now only needs to be tested.
· Since the present design of a toy telephone does not incorporate an external power supply to operate, the obtained outputs are definitely too weak and will need appropriate optimizations. The plastic caps attached over the speakers greatly help in amplifying the tiny signals to audible levels.
· The testing is simple though, speaking or rather murmuring over one of the speaker-cap assembly can be heard at a reasonably good strength over the other speaker-cap assembly held tightly over the ear, provided the surrounding has pin-drop silence. The good thing is the distance between the speaker and listener, which has no bounds and the wires may be squeezed anyway round.